Nitrogen HelloWorld
In my last blog post about Nitrogen, I showed how to get started developing with nitrogen with very little effort. To enable that blog post, I wrote a vagrant configuration that allows you to bring up a virtual machine running the Nitrogen Service and Admin web application.
In this post, I'll show how to use that vm to build and test the simplest Nitrogen device possible. All the code is in a github repo.
Background
Recall, to setup the virtual machine you need to:
- Have a virtualization application (virtualbox or parallels)
- Install vagrant
Then, run these commands:
# Clone the rep
> git clone https://github.com/irjudson/vagrant-vms.git
# Get into the code
> cd vagrant-vms/nitrogen
# Add the ubuntu/trusty64 box
> vagrant add ubuntu/trusty64
# create the vm
> vagrant up
Once you've done that, you can get started writing your first device that sends data to Nitrogen. To get started, be sure you have the latest Node installed.
Hello World, Nitrogen Style
Then make a directory named helloworld:
mkdir helloworld
cd helloworld
Open an empty file named helloworld.js and type or paste this code into it:
var Store = require('nitrogen-leveldb-store'),
	nitrogen = require('nitrogen');

var config = {
    host: process.env.HOST_NAME || 'localhost',
    http_port: process.env.PORT || 3030,
    protocol: process.env.PROTOCOL || 'http',
    api_key: process.env.API_KEY
};

config.store = new Store(config);

var service = new nitrogen.Service(config);

var helloWorld = new nitrogen.Device({
	nickname: 'helloWorld',
	tags: ['sends:ping'],
	api_key: config.api_key
});

service.connect(helloWorld, function(err, session, helloWorld) {
	if (err) return console.log('failed to connect helloWorld: ' + err);

	var self = this;

	setInterval(function () {
		var message = new nitrogen.Message({
			type: '_ping',
			body: {
				command: {
					message: "I'm alive. My ID is: " + helloWorld.id
				}
			}
		});
		message.send(session);
	}, 2000);
});
Then, open an empty file named package.json, and type or paste these lines:
{
  "name": "helloworld",
  "repository": {
    "type": "git",
    "url": ""
  },
  "version": "0.1.0",
  "private": "true",
  "dependencies": {
    "nitrogen": "~0.2.0",
    "nitrogen-leveldb-store": "~0.1.201"
  },
  "devDependencies": {
    "mocha": "1.x"
  }
}
Then run this command to install the dependencies your device has (specifically, nitrogen and the nitrogen-leveldb-store).
npm install
Getting your API Key
Finally, we have to do some configuration and interaction with the Nitrogen Service, so:
- Open a browser to http://localhost:9000/
- Create a new account
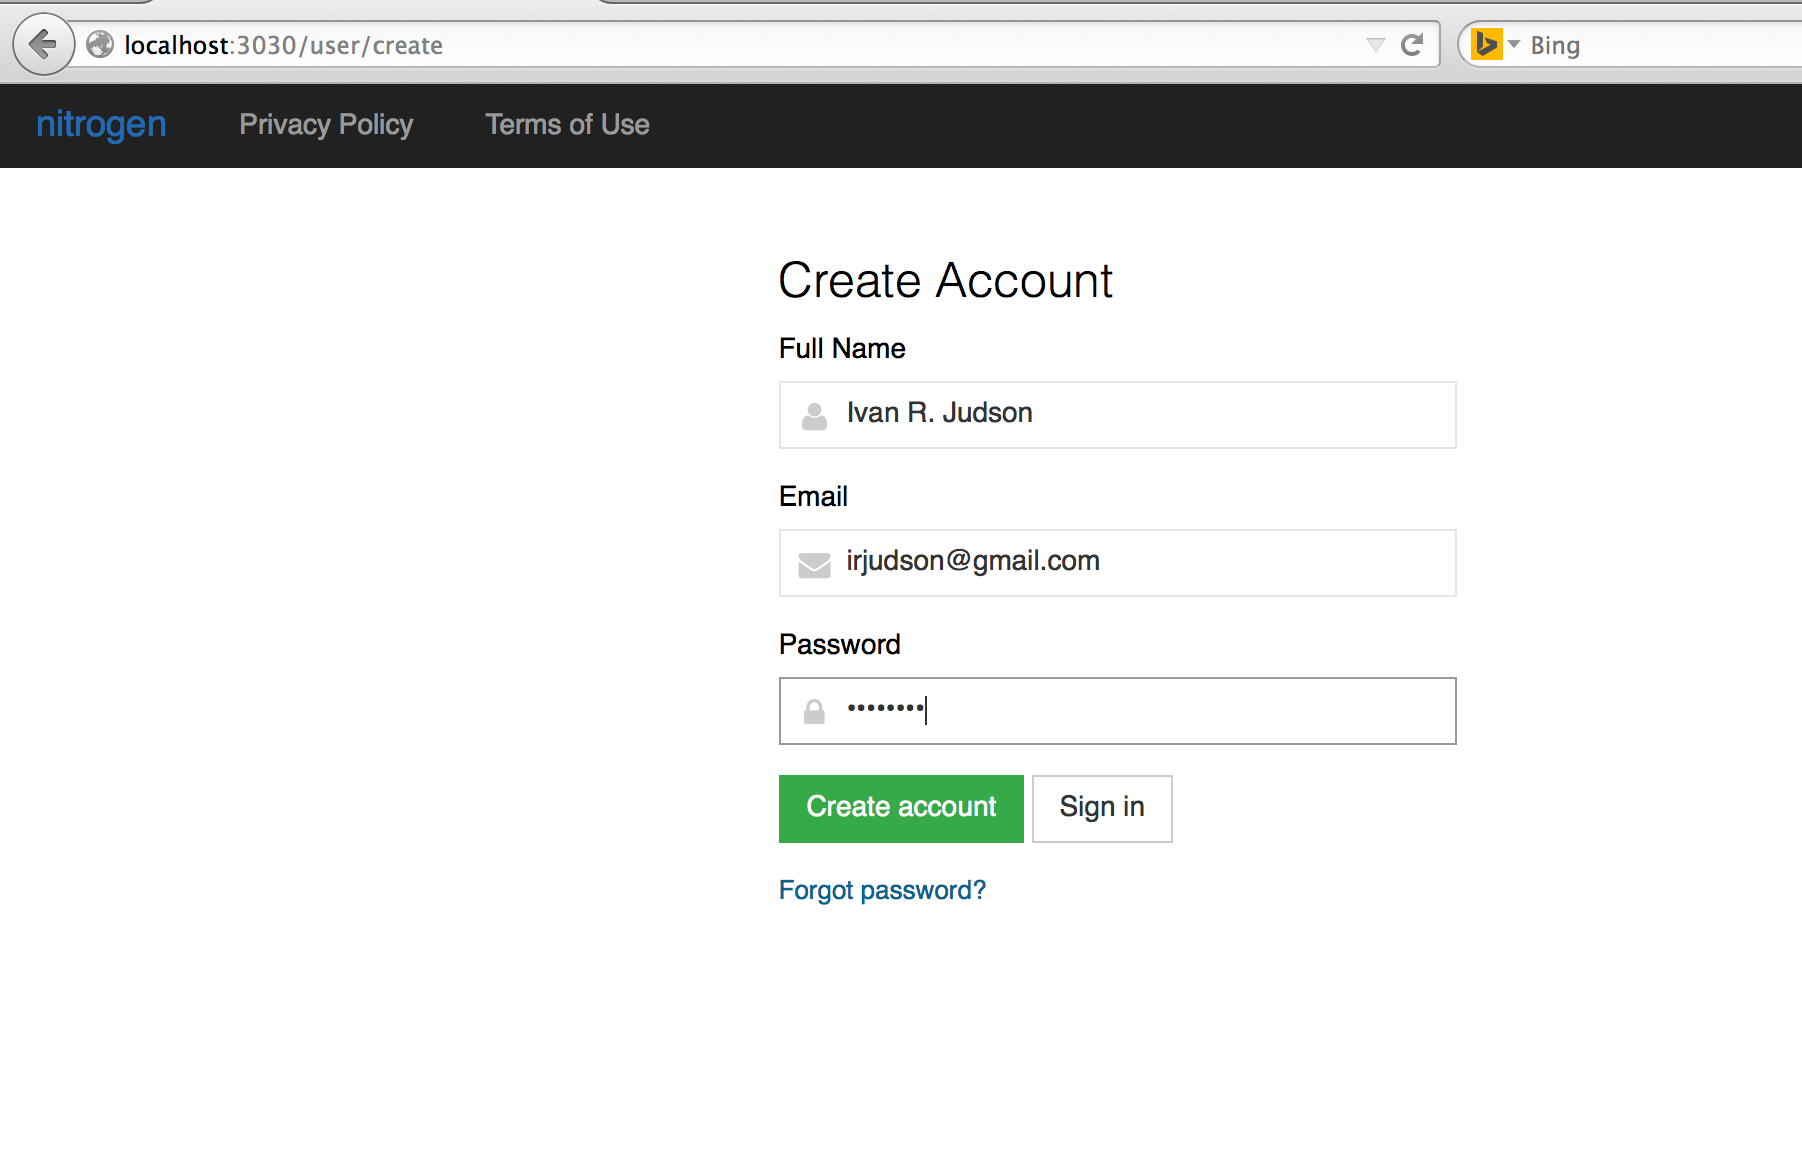
- Login with that account
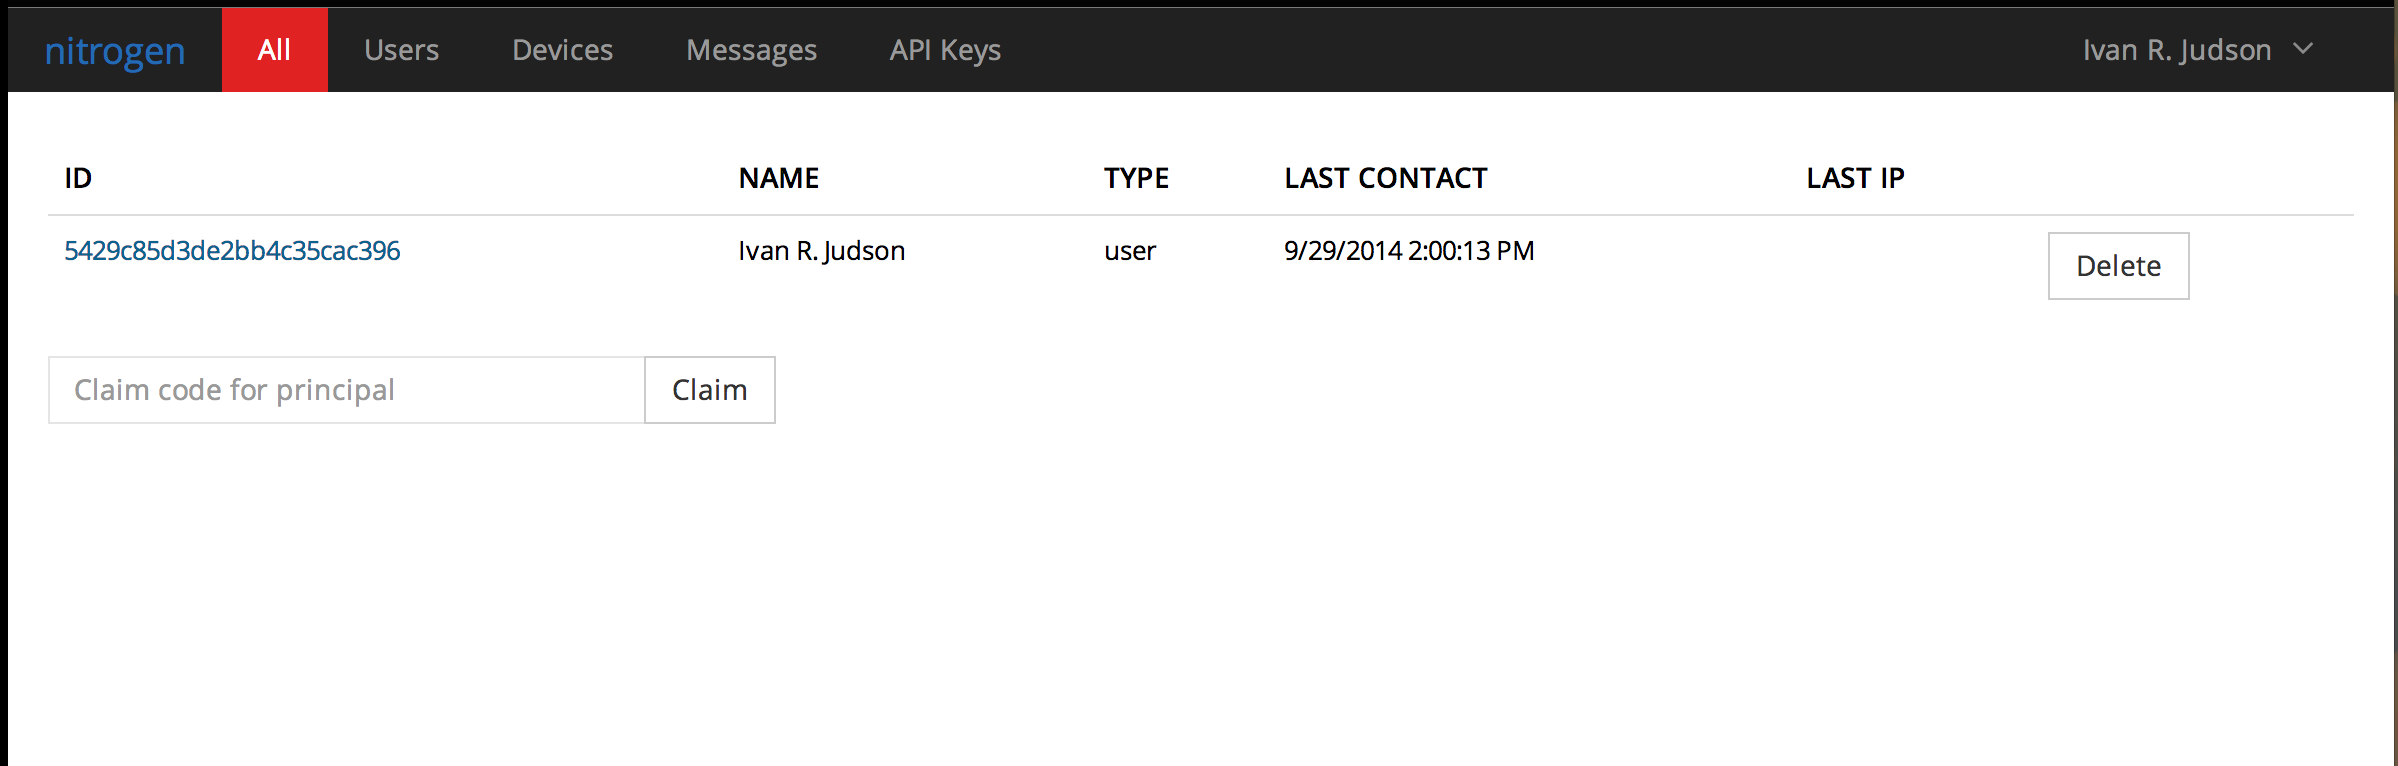
- Go find your API Key

Running HelloWorld!
Copy the API Key and run this command in your shell (from the directory where you built the helloworld example):
API_KEY="<apikey>" node helloworld.js
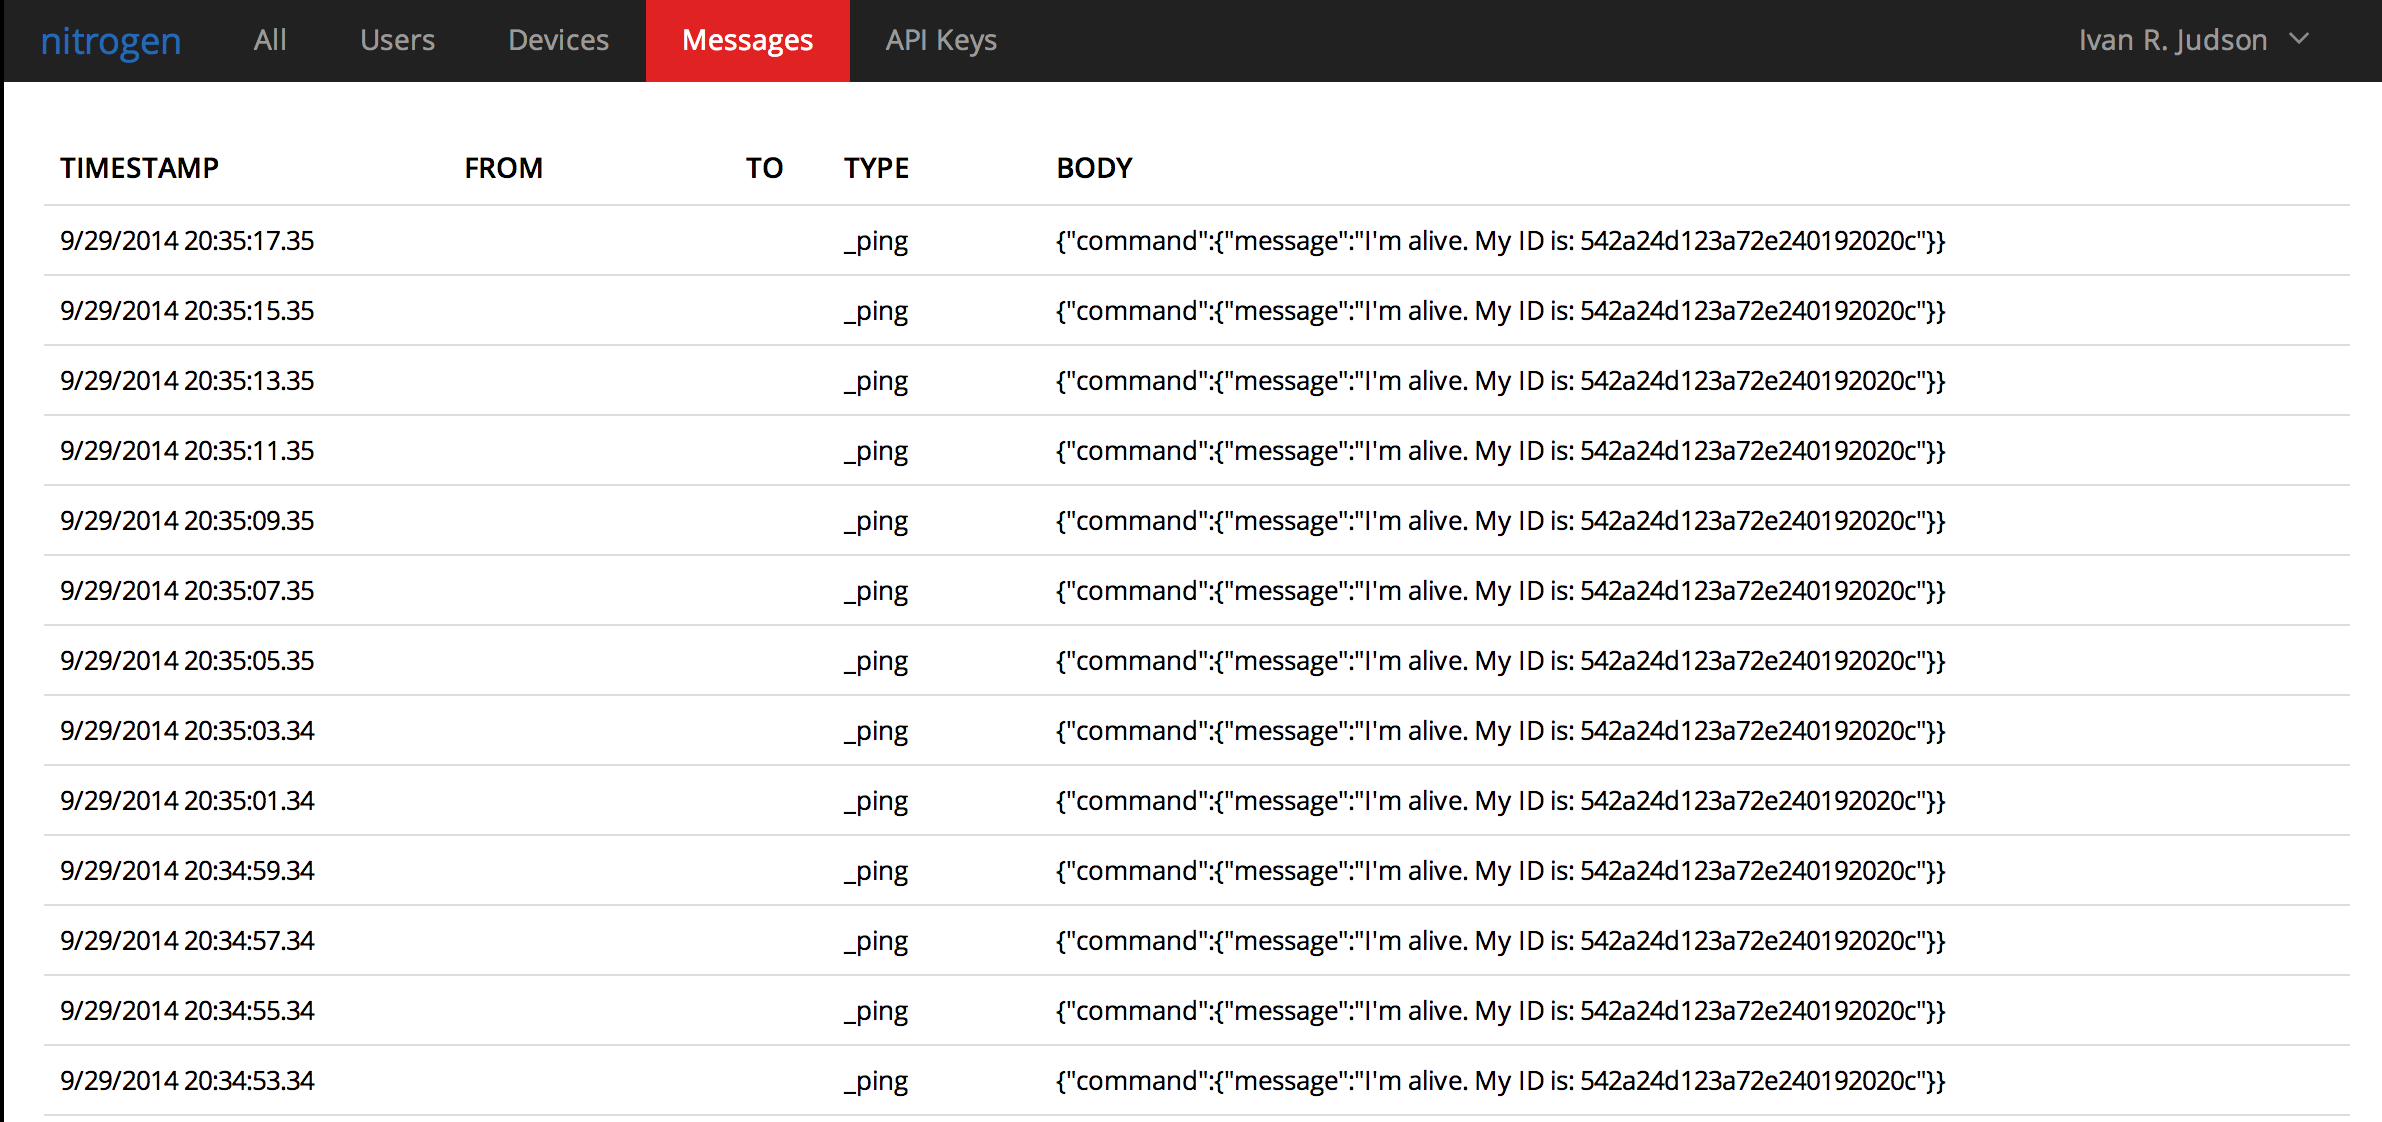
Here's what it looks like:

Now, if you go to your messages screen you should see this:
Conclusion
From this very brief example you can see how simple it is to get a device sending telemetry data. In the next post, I'll show how to recieve commands and act on them.